 It’s been nearly a month of working on the greenhouse renovation, but we’re finally done! It looks pretty fabulous, if I do say so myself.
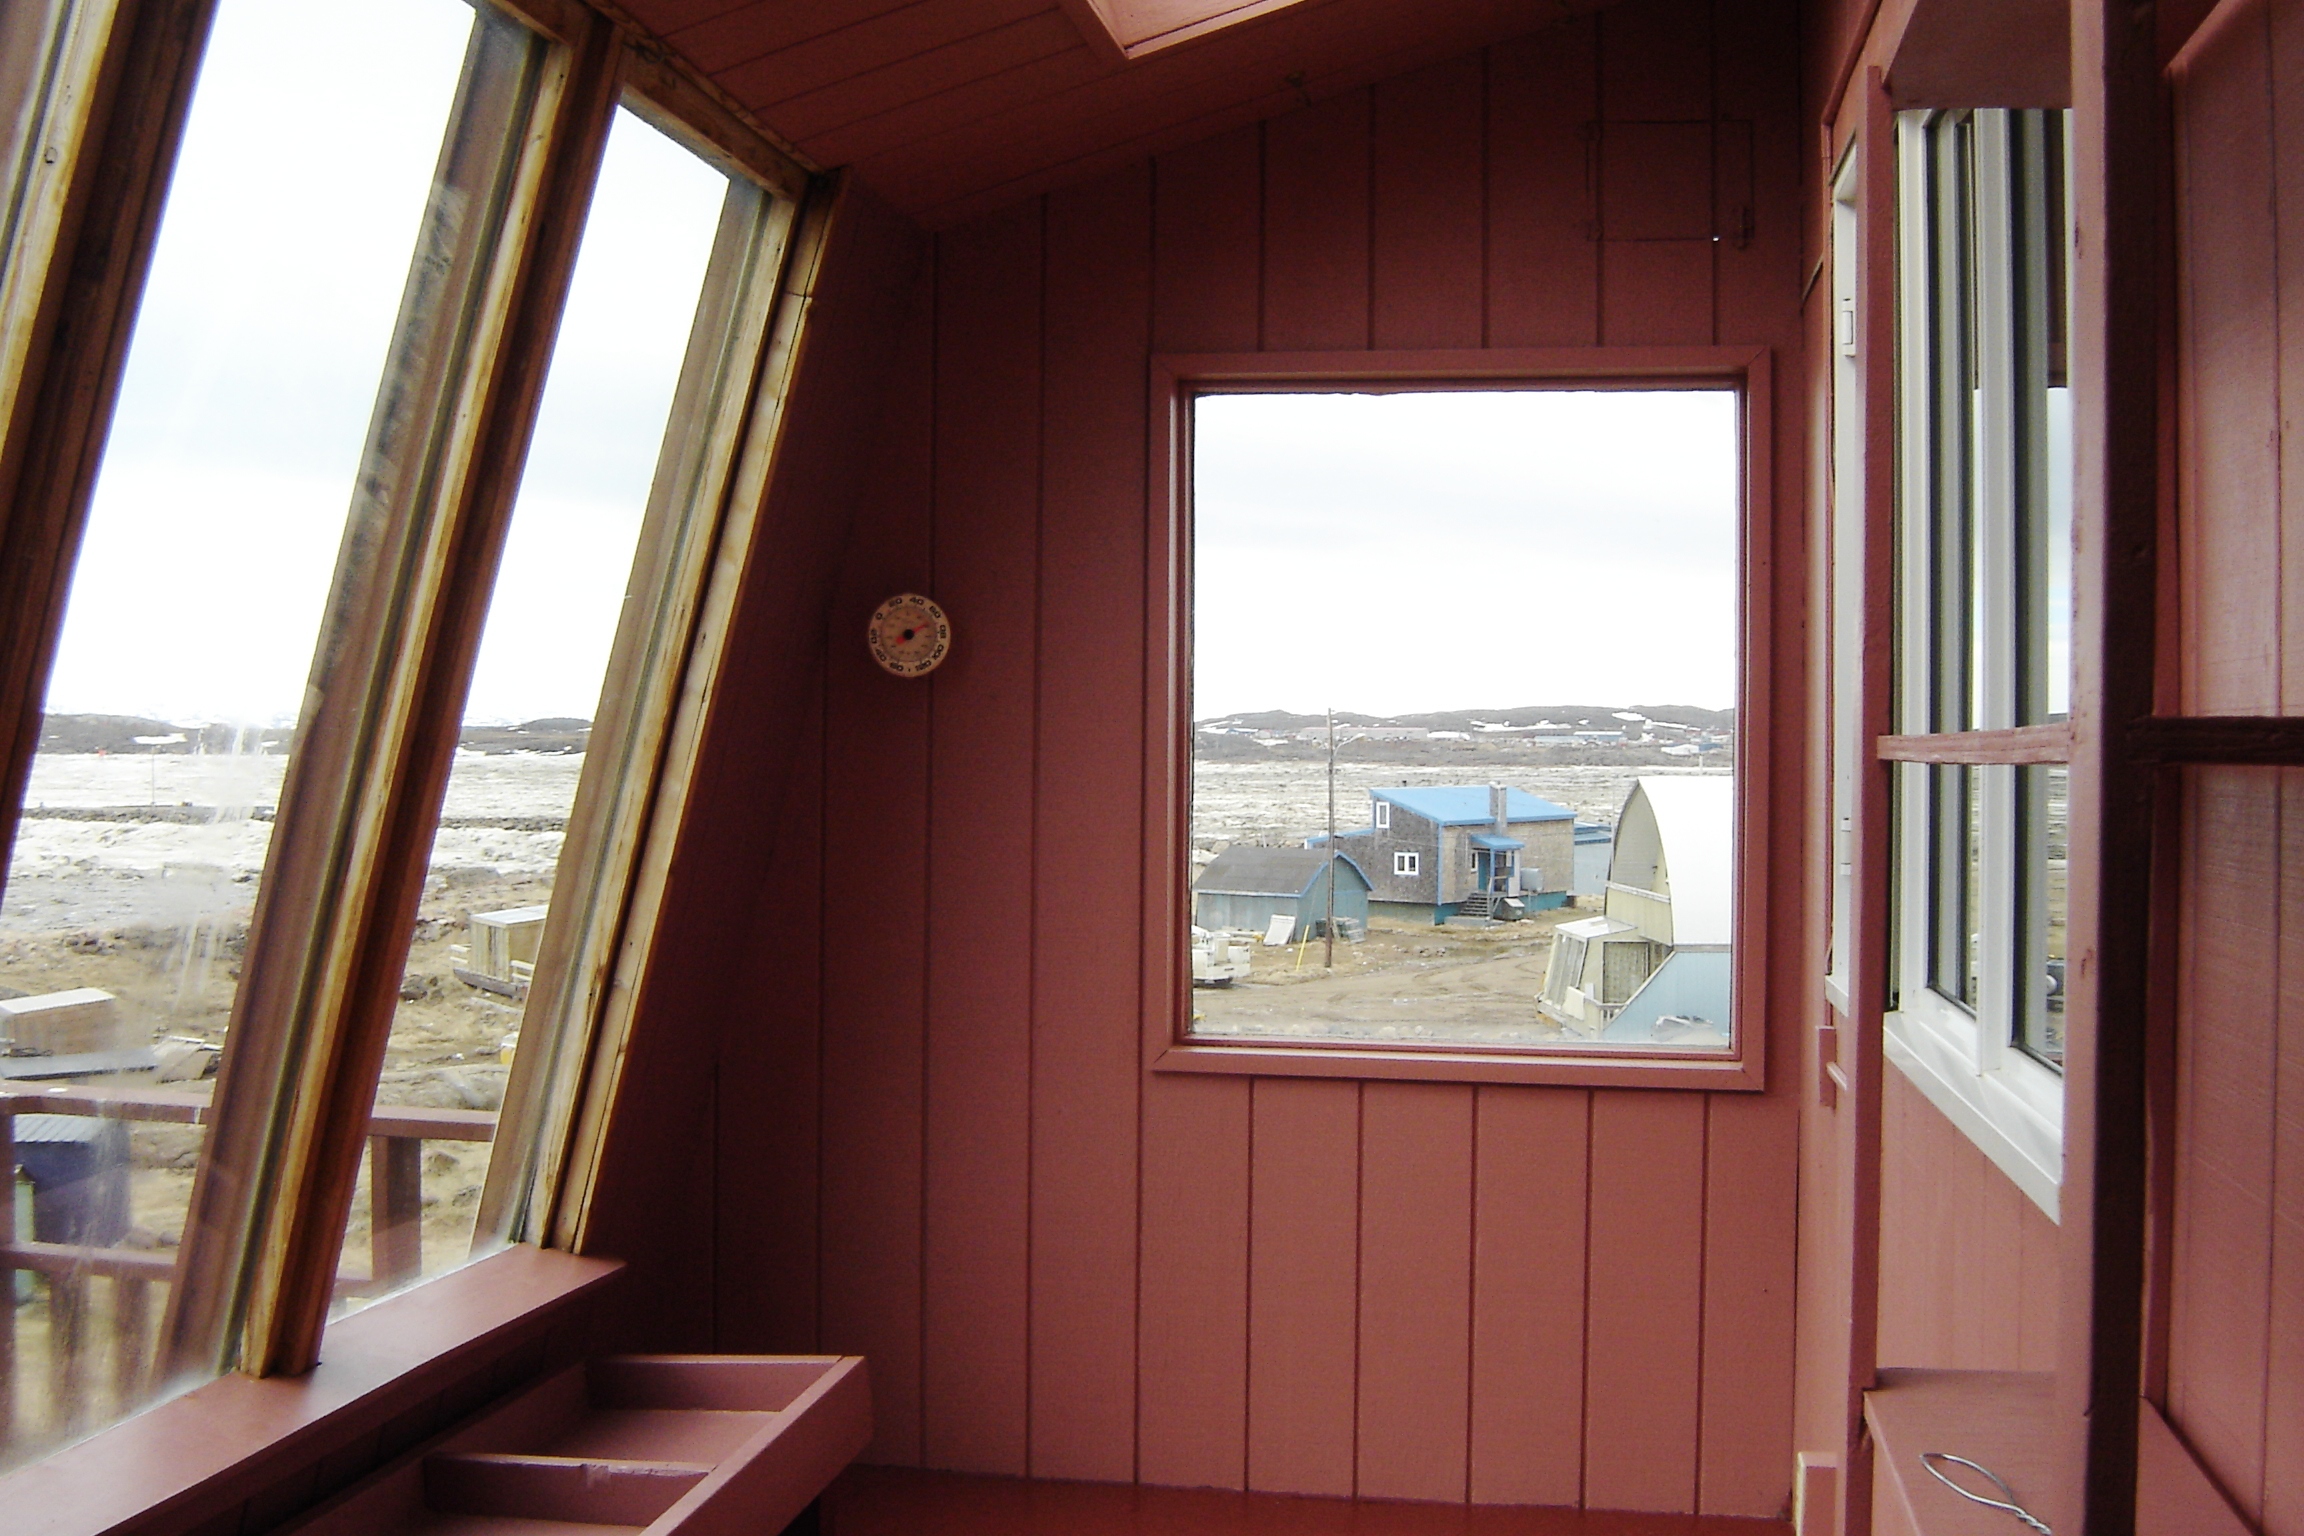
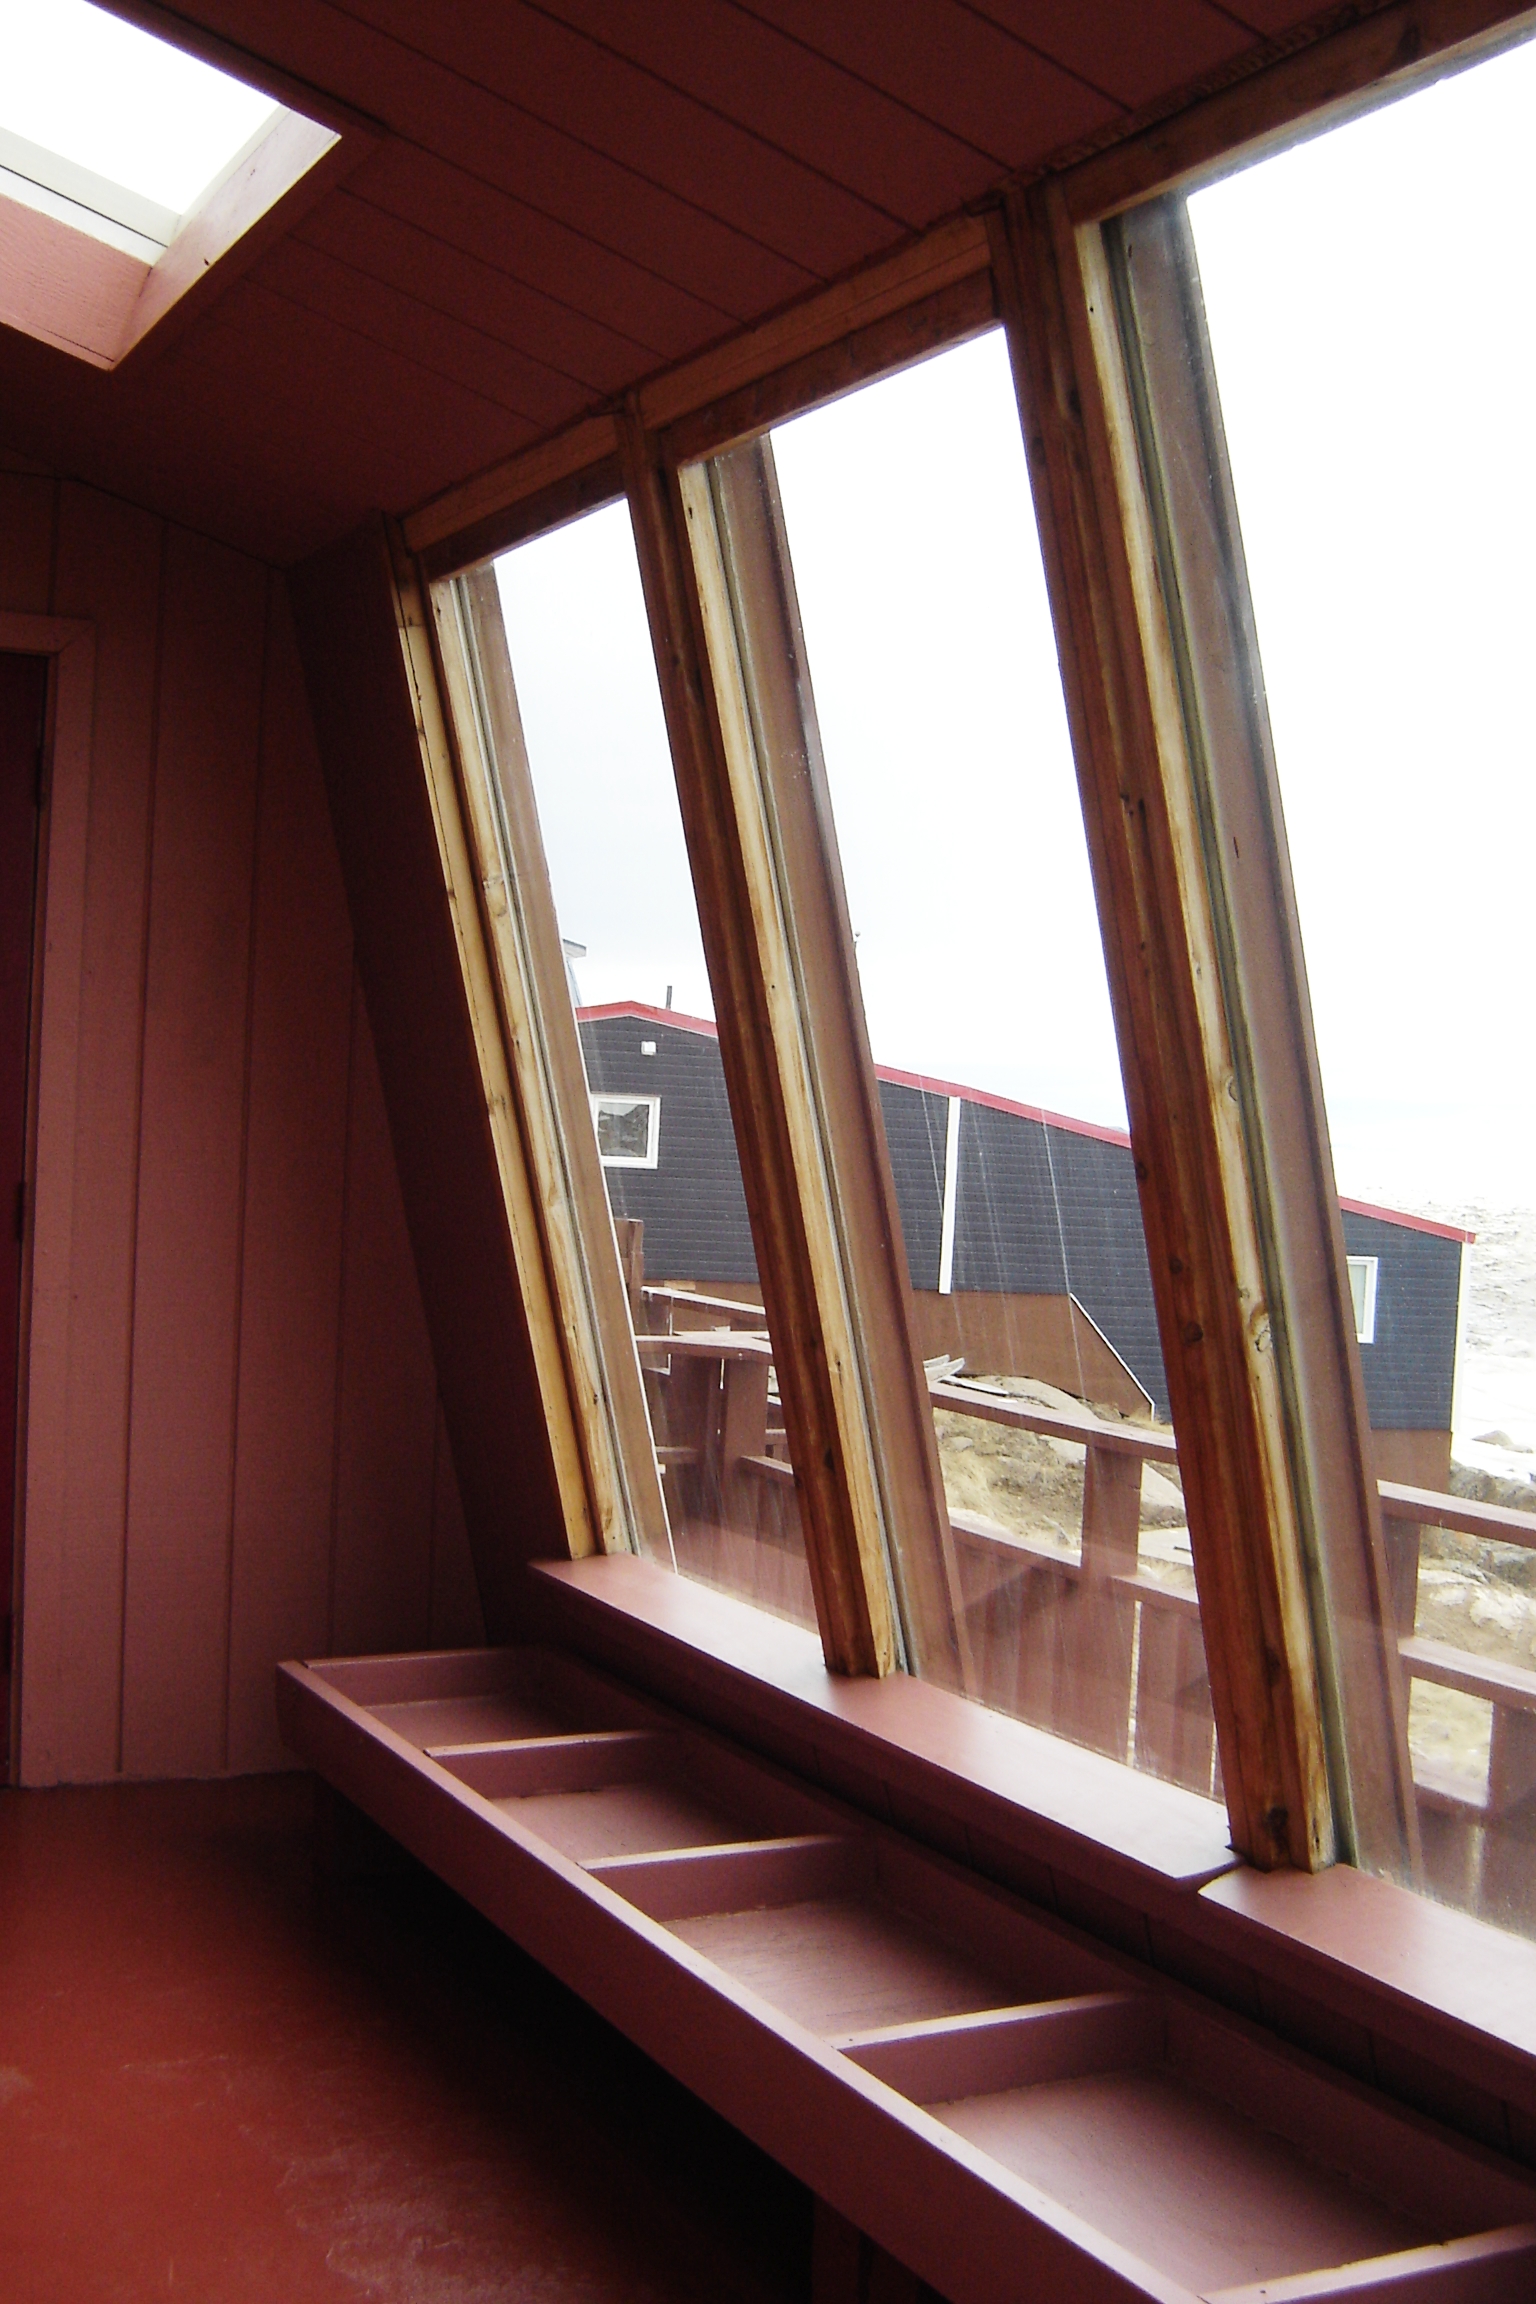
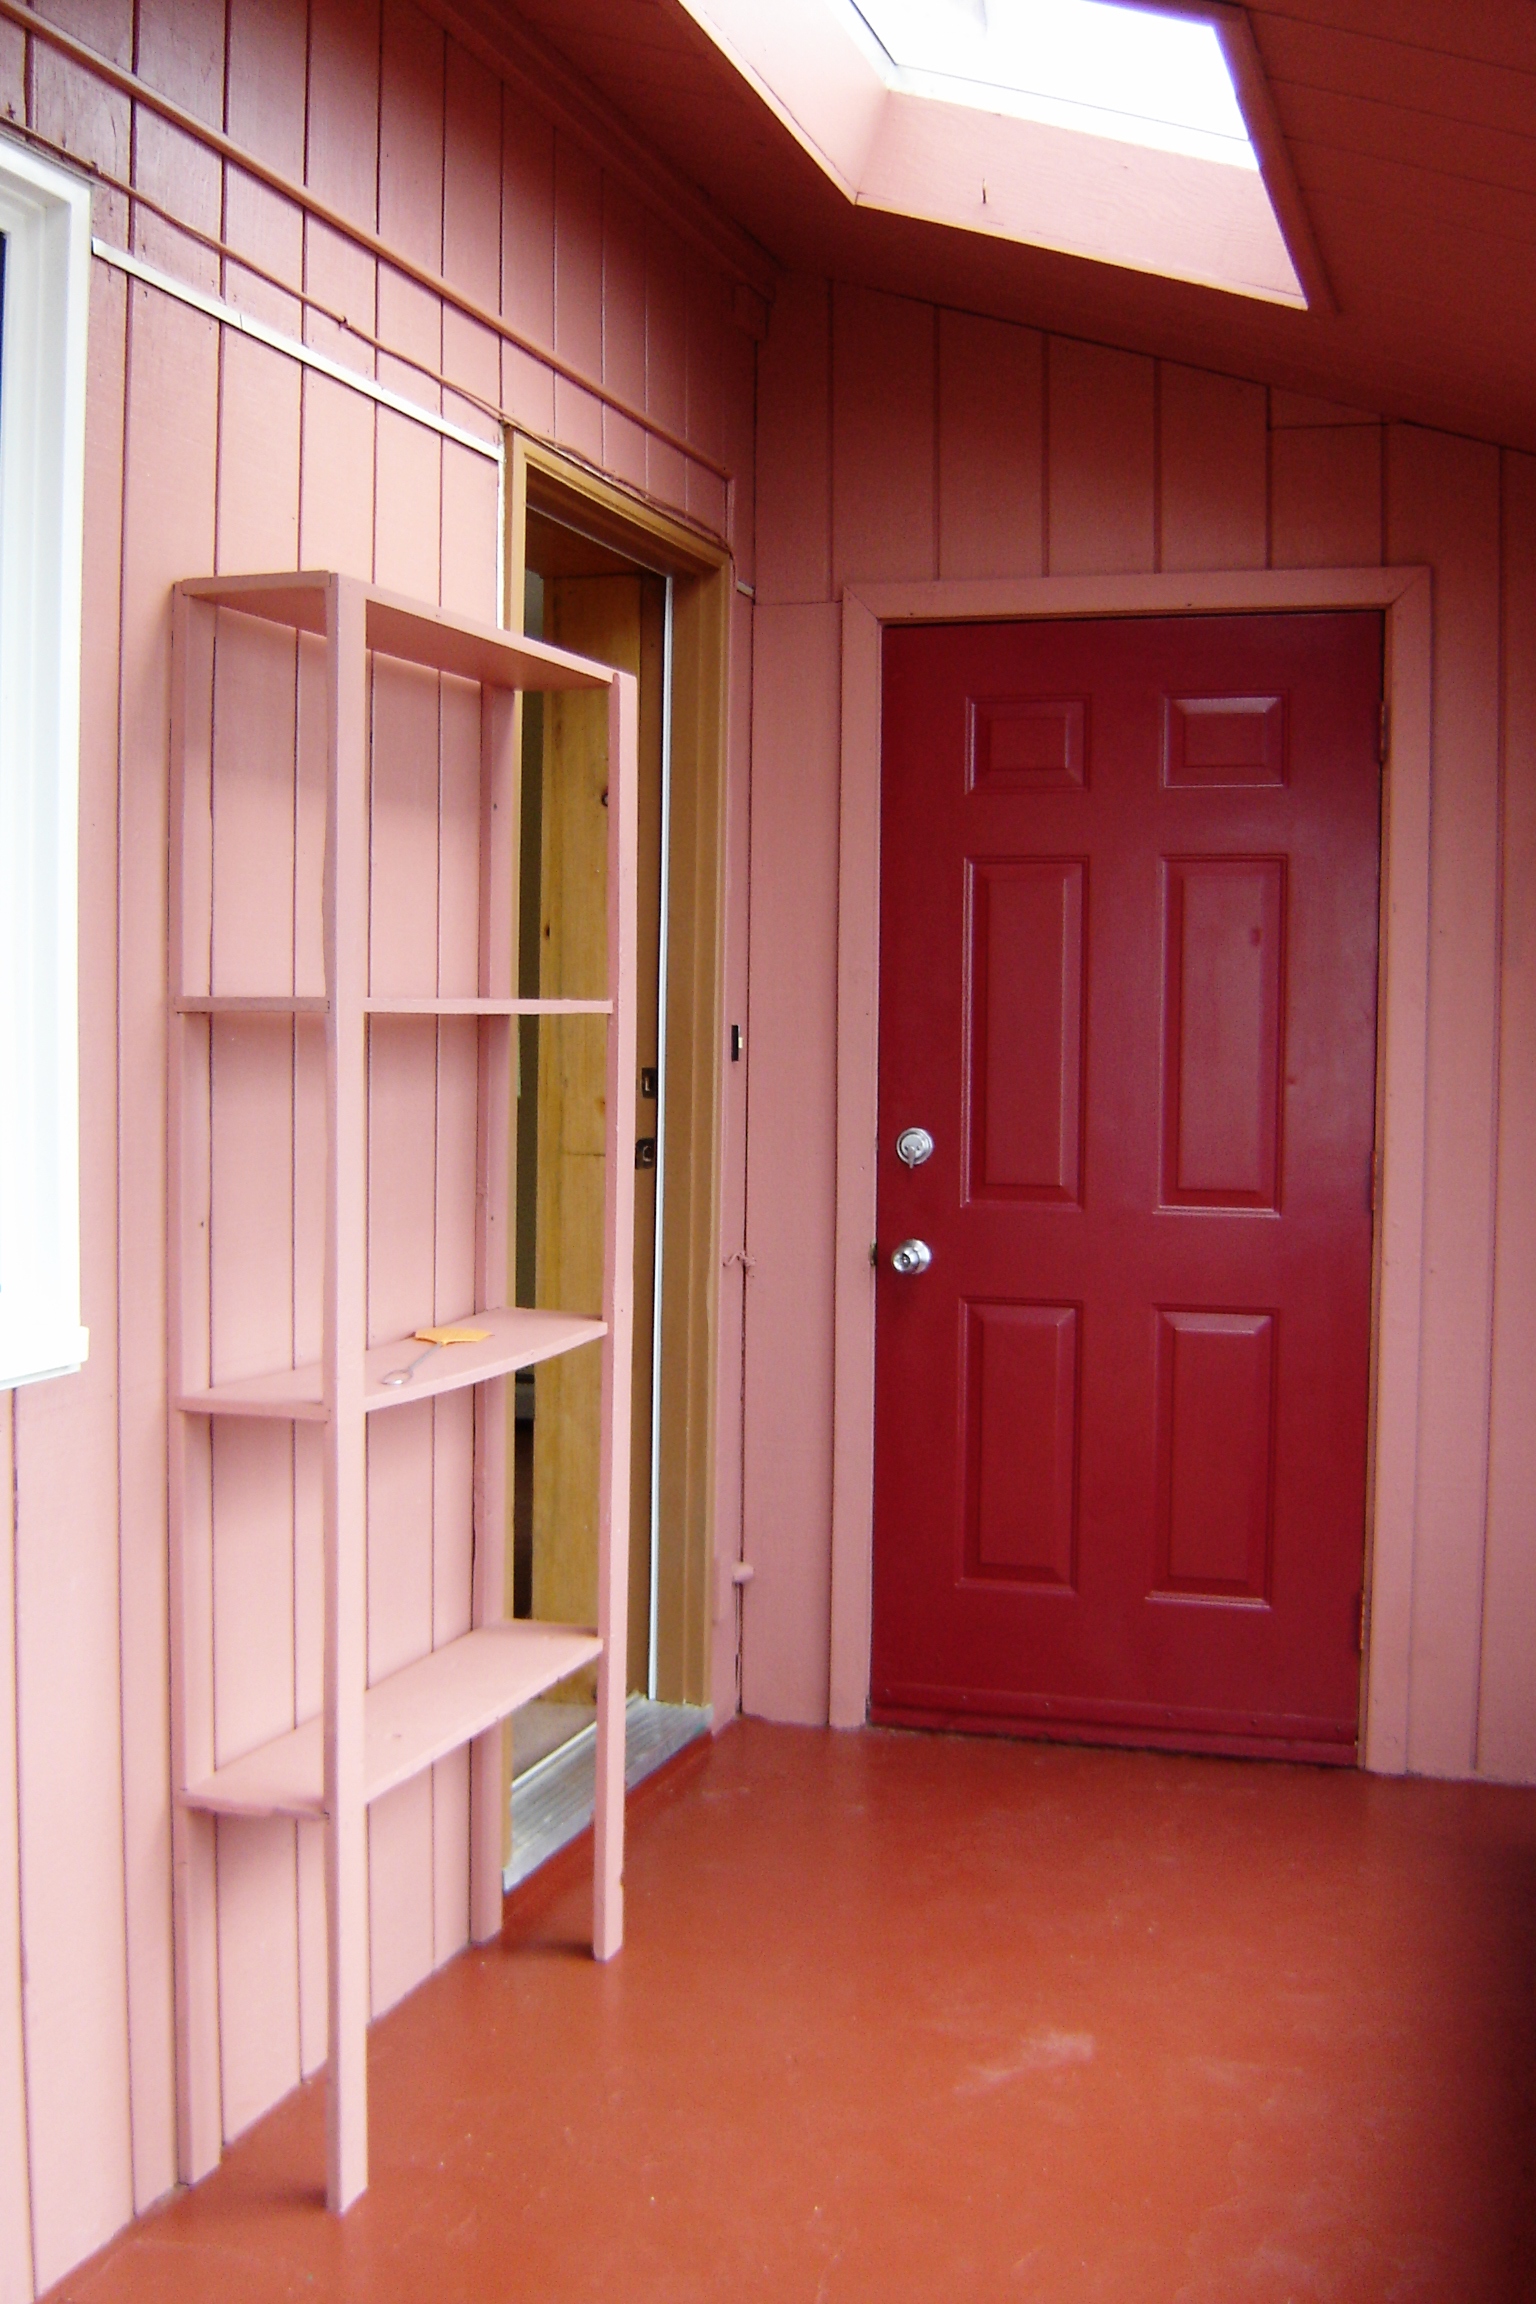
As a reminder, here’s some of the planning that went into it Greenhouse Colour Scheme, and here’s what it looked like before …
So what’s the key to a kick-ass greenhouse renovation you ask? Well, it all began with a little bit of caulk. Actually, a lot of caulk.
As I learned from my lovely friend Kristi, the secret to painting a room well is all in the prep. Although I was eager to get the room painted and finished in a weekend, Kristi was adamant that we caulk all of the rooms cracks and seams before priming and painting. I was sceptical. In fact, for a while there I caulk-blocked her. It’s true. It was wrong, and I quickly came to my senses.
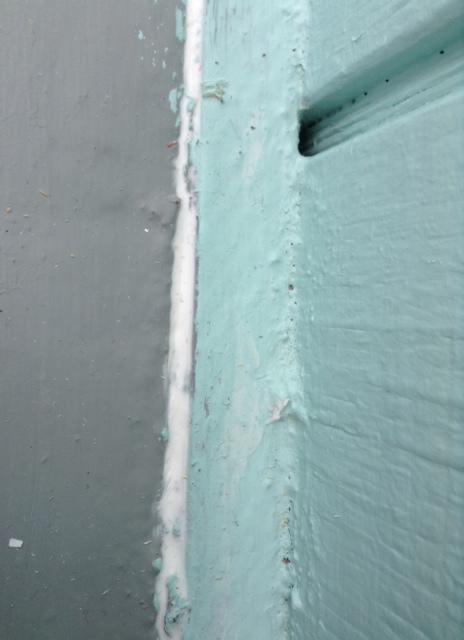
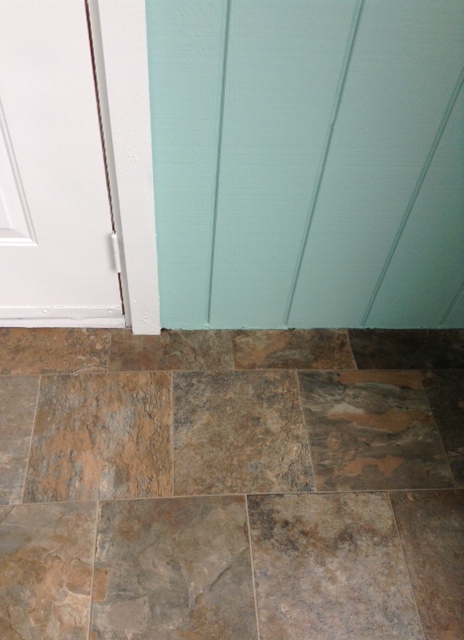
Here’s a close up of the seams along the wall and floor where the concrete and wood siding meet. It’s surprising how dark and deep the little gaps become after a coat of paint without any filler. Now for this, the caulk that we used is DAP paintable, indoor/outdoor, white caulking.
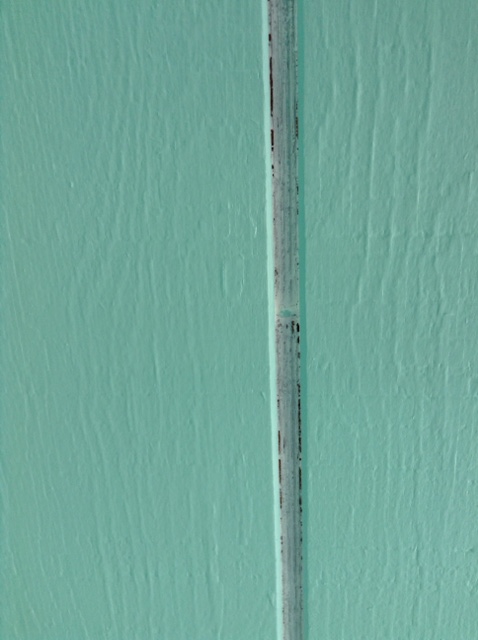

And here’s the crack after caulking and before a coat of paint. It’s amazing what a difference it made on the whole room. It’s hard to appreciate in photos, but it looks more impactful in person…so you can just take my word for it.
Next came the floor. Initially we were just going to repair some of the old crack and chipping paint and give it another coat of paint. I chose a blue-grey shade that looks really nice with the turquoise walls. BUT, as I began scraping, chipping, and hammering at the worn floor it was beginning to look like we were going to have to do some major infilling. In-filling that one might normally be able to do with a tube of cement and trowel after dropping by your local Home Depot, however there was nothing to be found in our town that would do the trick – aside from a 200lb bag of cement, which I was not prepared to drop all my money on for some small-ish floor repairs or sand down the entire floor surface to ensure a good bond.

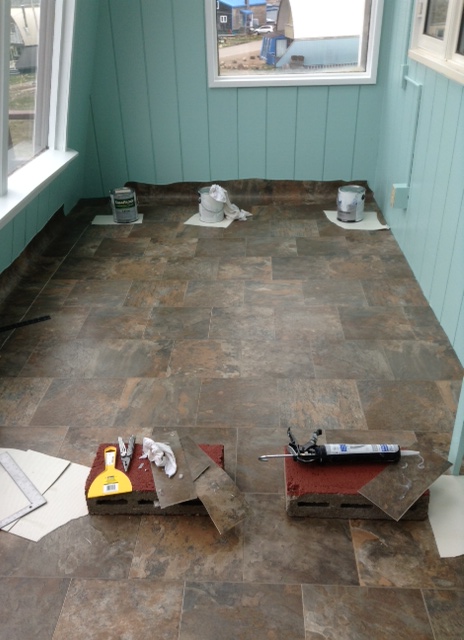
So on to Plan B. As it happened there was a room full of scrap lino leftover from the kitchen repair job before we moved in, which Kristi cleverly determined might just do the trick to cover the floor. So we played around with different pieces, scratched our heads a few times, and VOILA!
I’m pretty impressed that we managed to make it look like a solid piece – you’d never know it was made of 4 differently shaped pieces, as you can sort of make out below…

Here’s the floor with weights on the seams while they set…
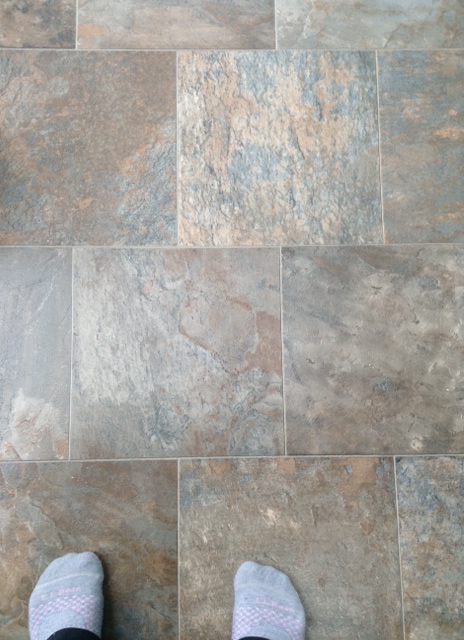
Cutting the seams of the lino to match the neighbouring piece was by far the hardest part – and I’ve still yet to master it. Kristi was far better at this part than me, though we still have a few spots to fix once the grey caulking I ordered from Amazon eventually gets here. The secret to it adhering the seams together is using silicone caulking and a lot of wiping. Most of the instructional tutorials online mentioned using a hairdryer to heat the seam before putting silicone down, but it was pretty warm in the greenhouse and we were eager to finish, so we just used the silicone straight up, and so far it’s holding strong. Check out the nearly invisible seam below…

And here…I dare you to find the seam…if you can!
Finally we trimmed the edges against the walls using a box cutter and straight edge…

Kristi showing us how it’s done…

So pro!
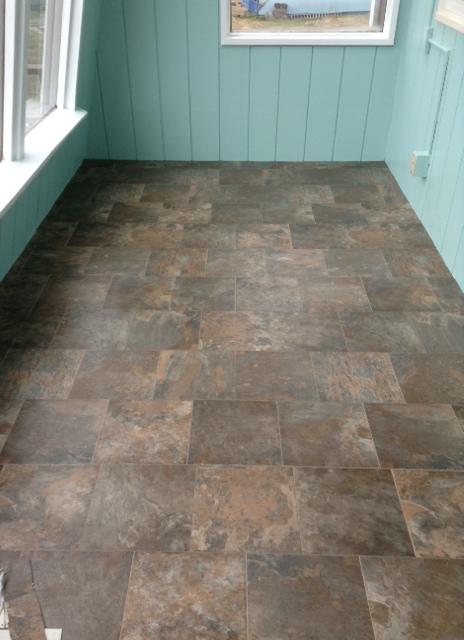
And here it is in all its glory:
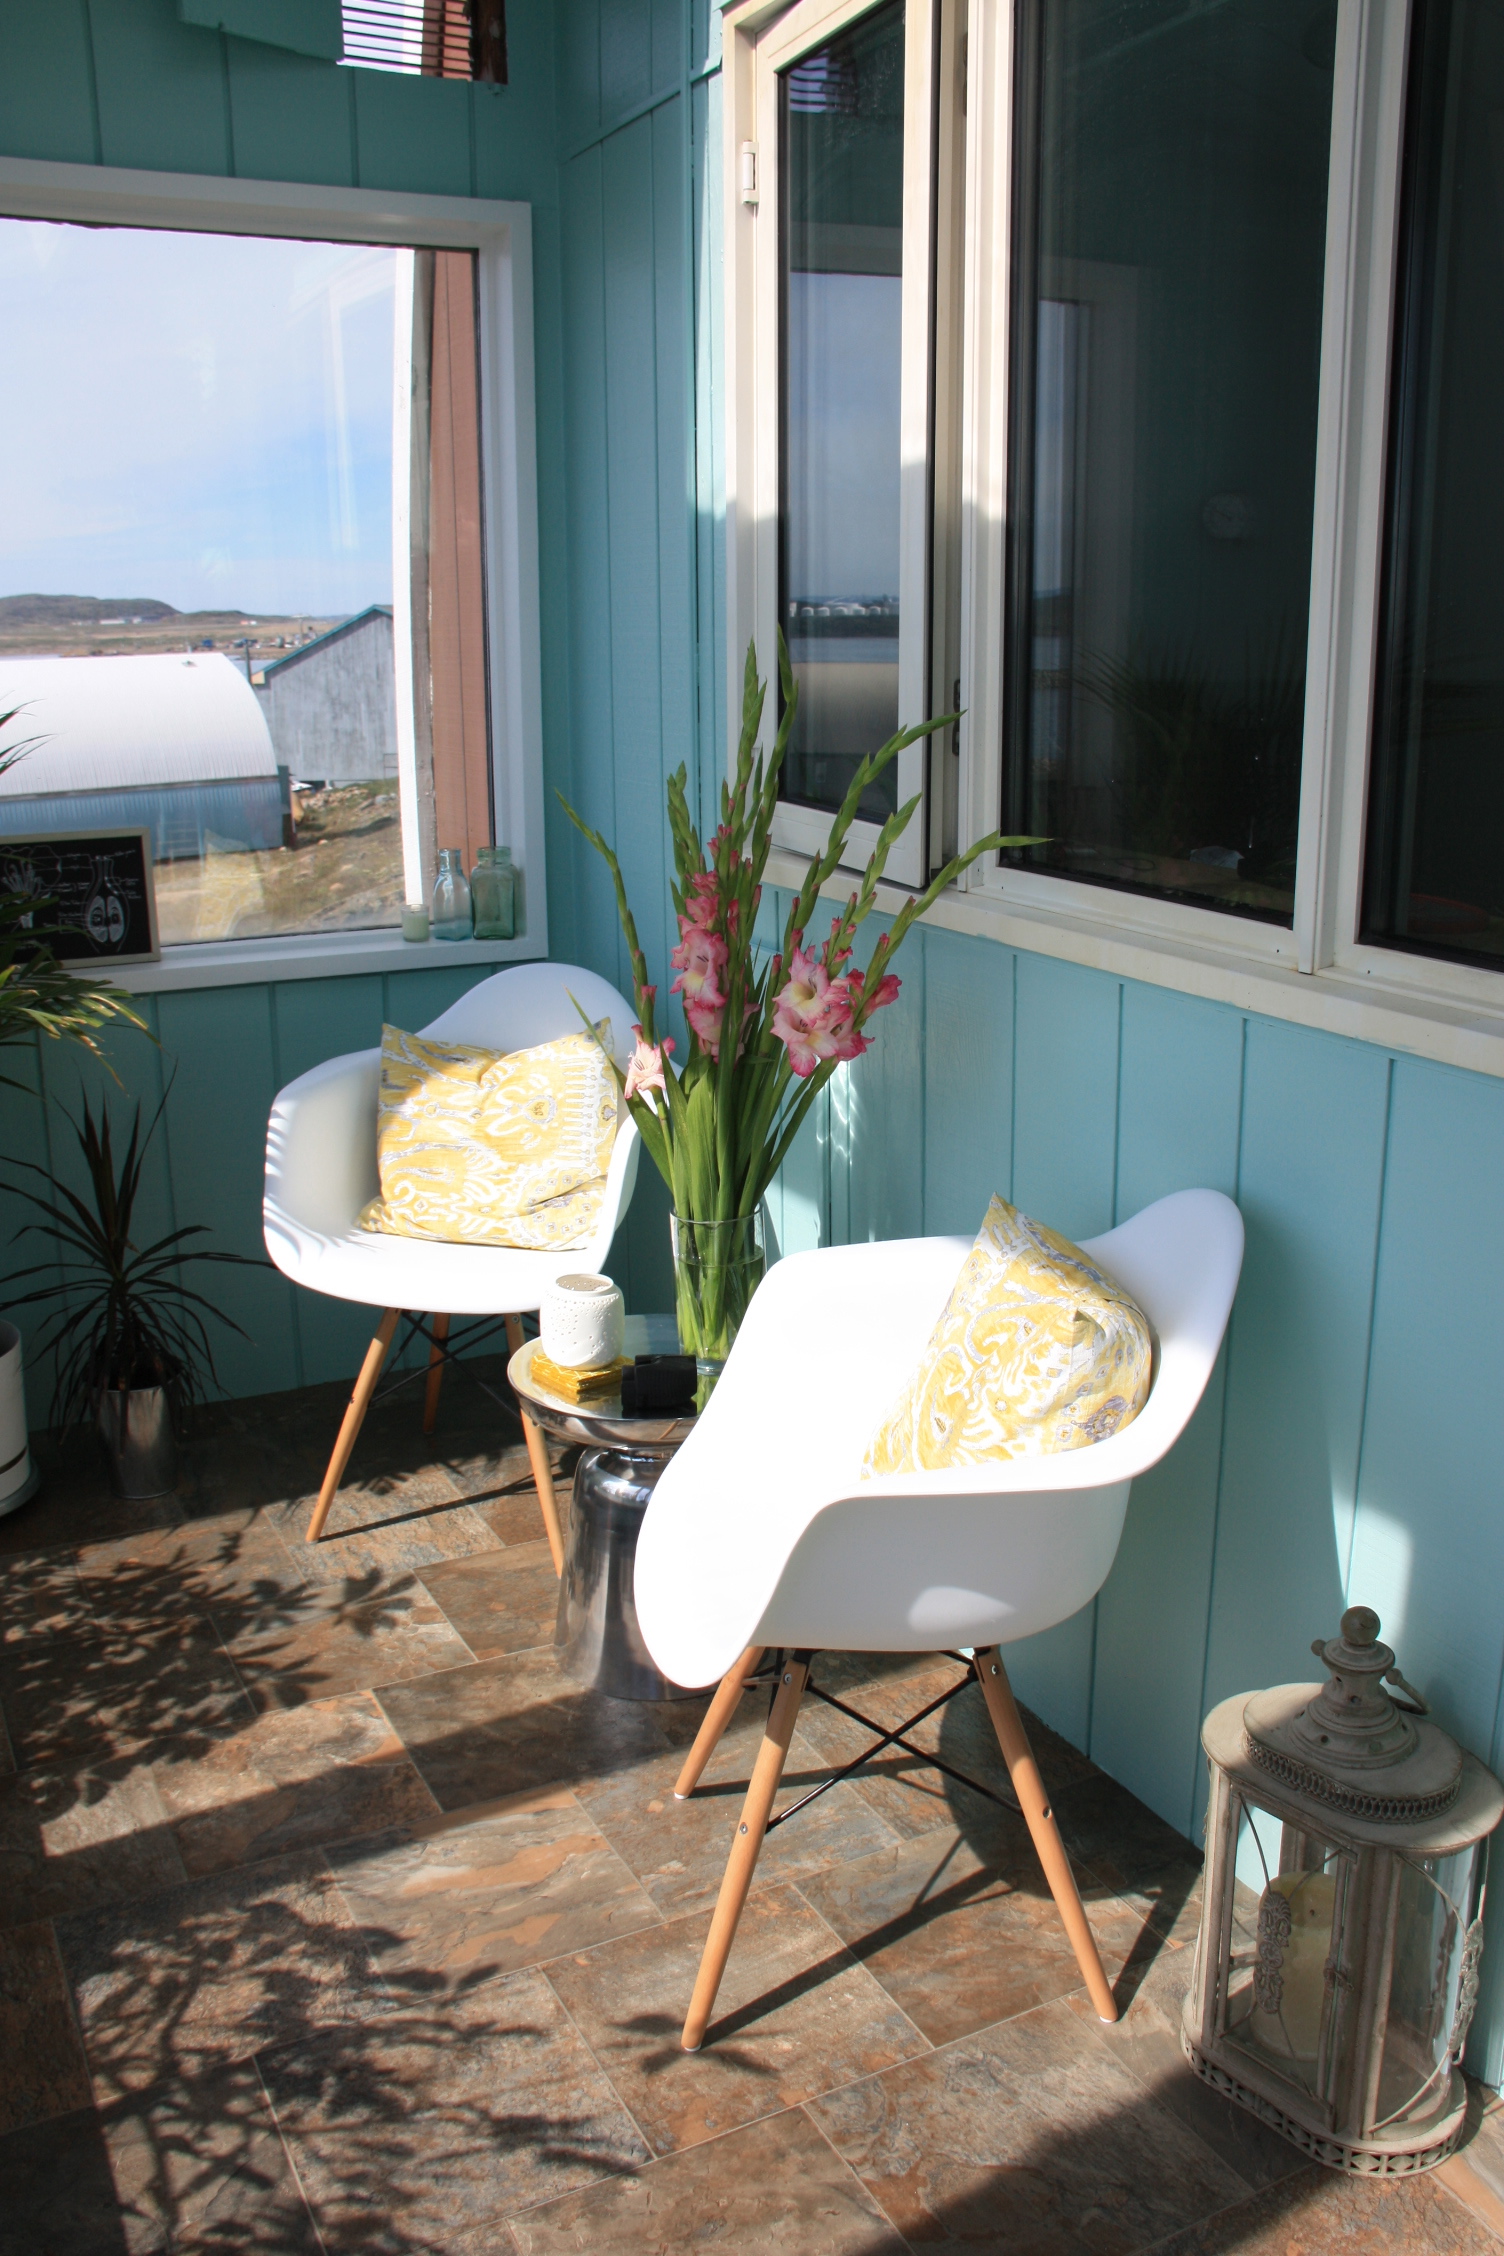


It looks BEAUTIFUL!!! I’m so impressed that you made the flooring look so seamless. And i love the soothing colours, very relaxing.
Thanks Salz! It is perfect timing too since we’re FINALLY getting summer this weekend and its getting up to 20 degrees outside, and over 30 degrees in the greenhouse! Can’t wait to sip some sangrias in there. 🙂
gorgeous! love the colour scheme 🙂 well done. looking forward to seeing what you make of the rest of the house.
I am in love with this greenhouse and the colour! Love love love!
Thanks Jenny! You’ll have to come see it in person soon. 🙂